The Ultimate Guide to Post-Renovation Cleaning: Restore Your Space to Perfection
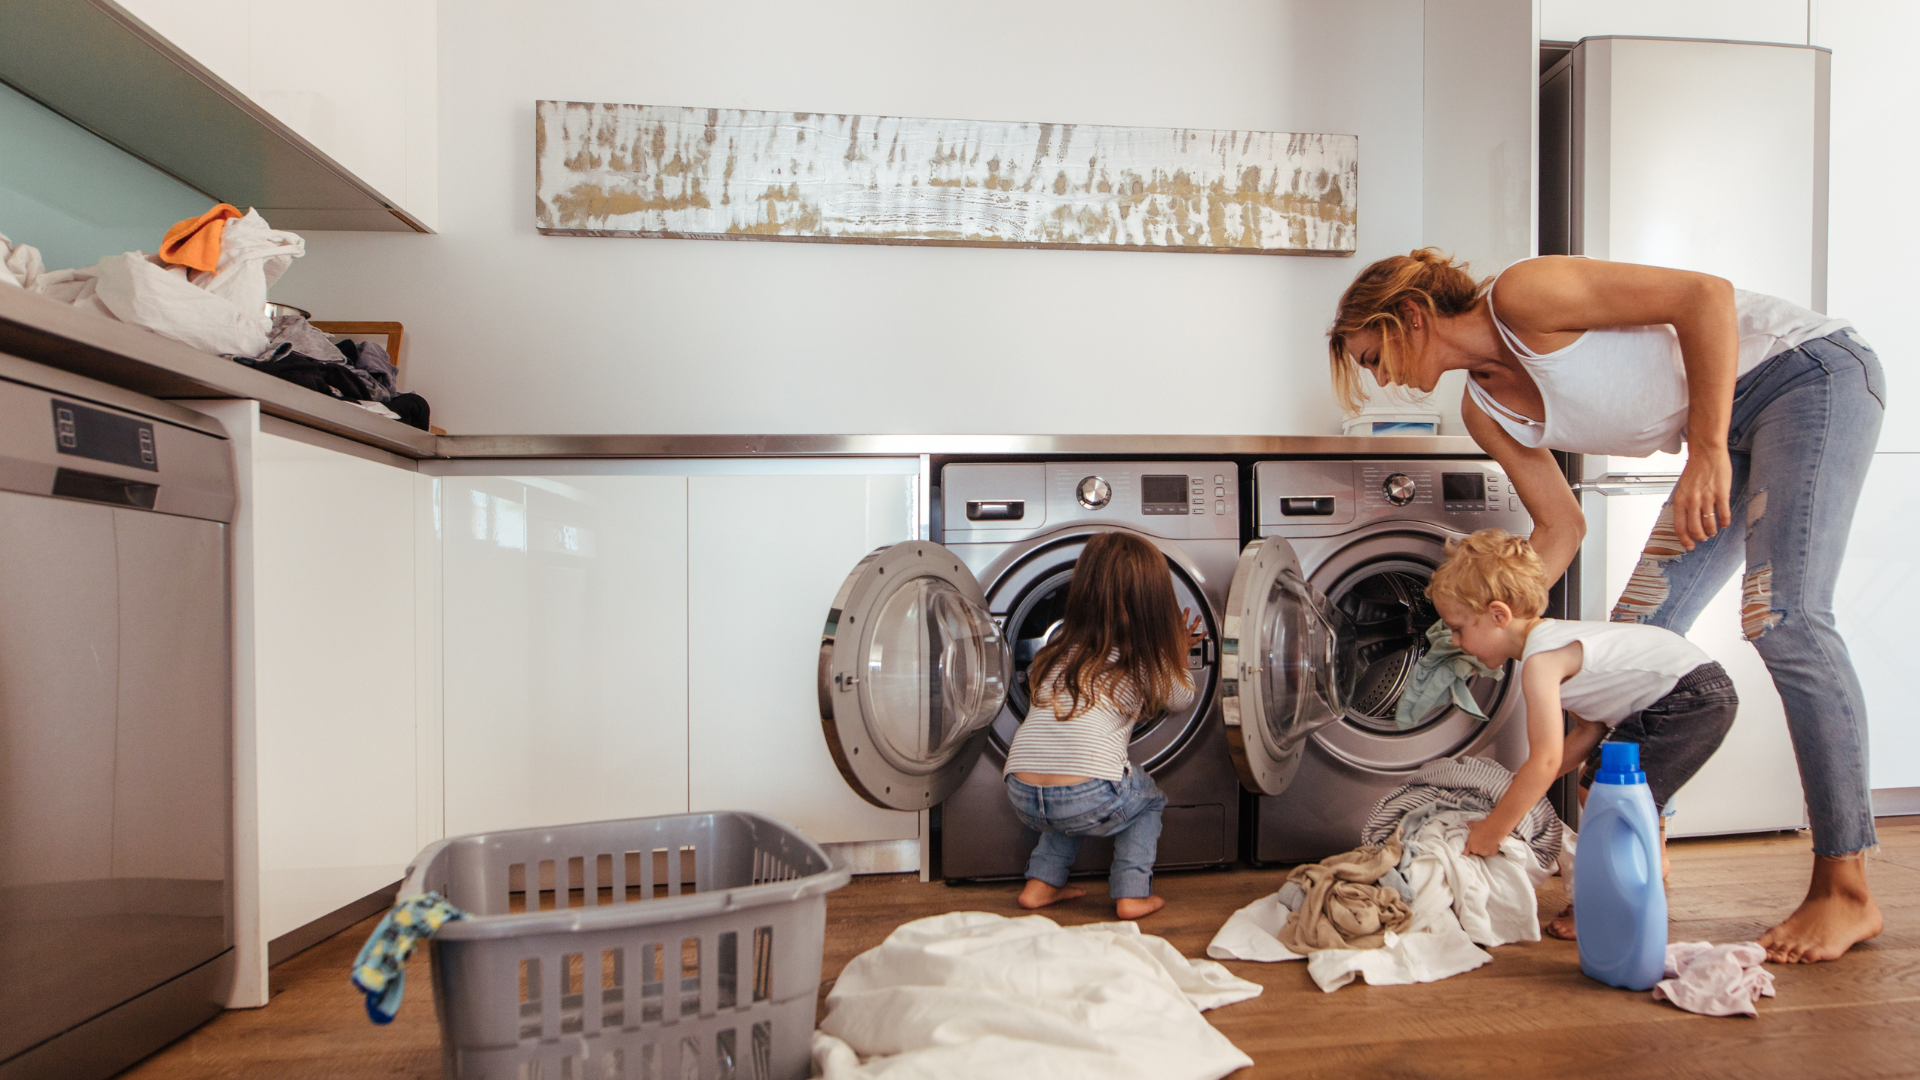
Imagine wrapping up your dream kitchen remodel. You step back, proud of the new counters and cabinets. But then you see it: thick layers of dust everywhere, bits of debris on the floor, and a faint smell that hangs in the air. Your fresh space feels messy and uninviting. Post-renovation cleaning turns that mess into a clean, safe home you love. It goes beyond a quick sweep—it's key to health, looks, and lasting joy in your updated rooms.
Renovations stir up fine particles from drywall, paint, and sawdust. These can sneak into cracks, vents, and fabrics, hurting air quality if you ignore them. This guide walks you through planning, tools, steps, and tips for a spotless finish. You'll learn how to handle the chaos without stress. Follow these ideas, and you'll cut down on time, dodge health issues, and settle into your renewed home fast. Homeowners like you can take charge and make cleanup simple.
Why Post-Renovation Cleaning Matters
Dust from construction isn't just annoying. It can harm your lungs and skin if you skip a good clean. The importance of post-renovation cleaning shows up in better health and a home that feels right. Think about how residue builds up after walls get patched or floors laid. A thorough job keeps your family safe and your space fresh.
Health and Safety Risks of Skipping Cleanup
Construction dust often holds silica from drywall. This tiny stuff irritates your eyes, nose, and throat. The EPA warns that poor indoor air after building work can lead to breathing problems. Kids and those with allergies face bigger risks. Wear a mask during the first sweeps to stay safe. Open windows too, and let fresh air flow in. Simple steps like these cut down on dust you breathe.
Lingering particles might settle on toys or bedding. This raises chances for allergies or asthma flares. Experts say to vacuum often with good filters. Don't forget to wash hands after touching dusty spots. These habits protect everyone in the house. You'll breathe easier knowing you've tackled the hidden dangers.
Impact on Your Home's Longevity
Residue from renovations can scratch new paint or stain wood floors. It clogs vents in your HVAC system, making it work harder. Over time, this leads to breakdowns and higher bills. Seal off vents before you start cleaning to keep dust out. Wipe down fans and filters right away. Your home's new parts will last longer this way.
Adhesives and spills might etch into counters if left alone. Grout in bathrooms turns dingy fast without care. Protect fresh installs by covering them with sheets during the mess. Regular upkeep after cleaning prevents small issues from growing. Your investment stays strong for years.
Achieving a Professional Finish
A deep clean lets your renovation shine. Fresh paint looks dull under dust layers. Tiles lose their gleam from gritty buildup. Use the right wipes to avoid streaks on windows or smudges on doors. Skip harsh chemicals on new surfaces—they can damage the finish.
Common mistakes include rushing or using old rags that spread dirt. Go slow, and test cleaners in a small spot first. Your space will look like the pros finished it. Friends might ask for your secret to that crisp look.
Essential Tools and Supplies for Effective Cleaning
Gather your gear before diving in. The right tools make post-renovation cleaning quicker and safer. Focus on items that handle dust without spreading it. Eco-friendly picks suit busy families who want green options. Stock up early to avoid mid-job trips to the store.
- Checklist for Basics: Gloves, trash bags, buckets, and sponges. These cover everyday needs without fuss.
- Eco Tips: Choose reusable cloths over paper towels to save money and the planet.
With these, you'll tackle any mess from a quick fix to a full remodel.
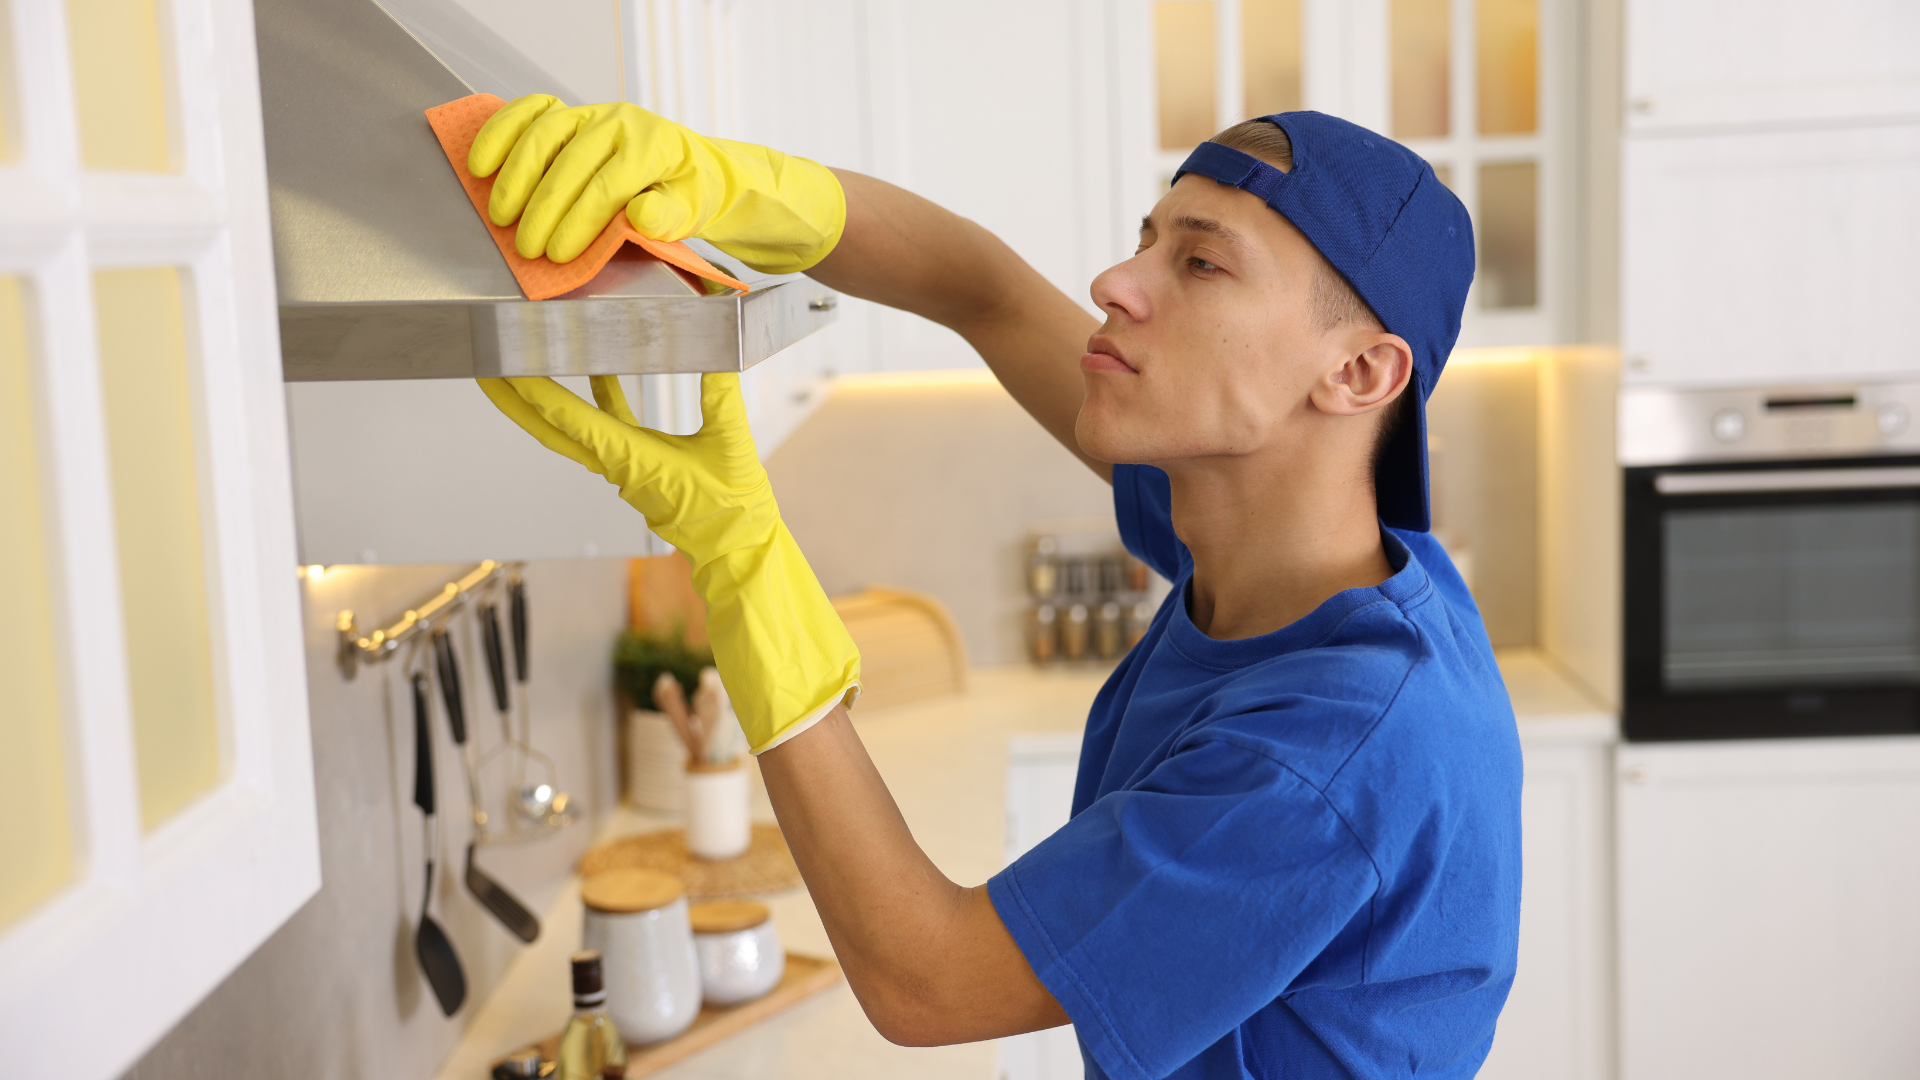
Protective Gear for You and Your Space
Start with gloves to shield your hands from sharp bits or chemicals. Goggles keep dust out of your eyes during sweeping. Drop cloths cover floors and furniture so dirt doesn't spread. Disposable masks beat reusable ones for one-time heavy jobs—they trap more fine particles.
Lay tarps under work areas to catch falling debris. This stops stains on your new carpet or hardwood. Reuse old sheets if you want to save cash. Gear like this keeps you clean and your home safe. No one wants a cleanup that creates more work.
Cleaning Equipment for Dust and Debris
A vacuum with a HEPA filter sucks up tiny dust that regular ones miss. Microfiber cloths grab particles without leaving lint behind. Extendable dusters reach high spots like ceiling fans. These beat brooms, which kick up clouds of dirt.
Clean your tools after each use—rinse cloths and empty vacs outside. This keeps them working well. For tough spots, a shop vac pulls debris from corners fast. You'll cover more ground without extra effort.
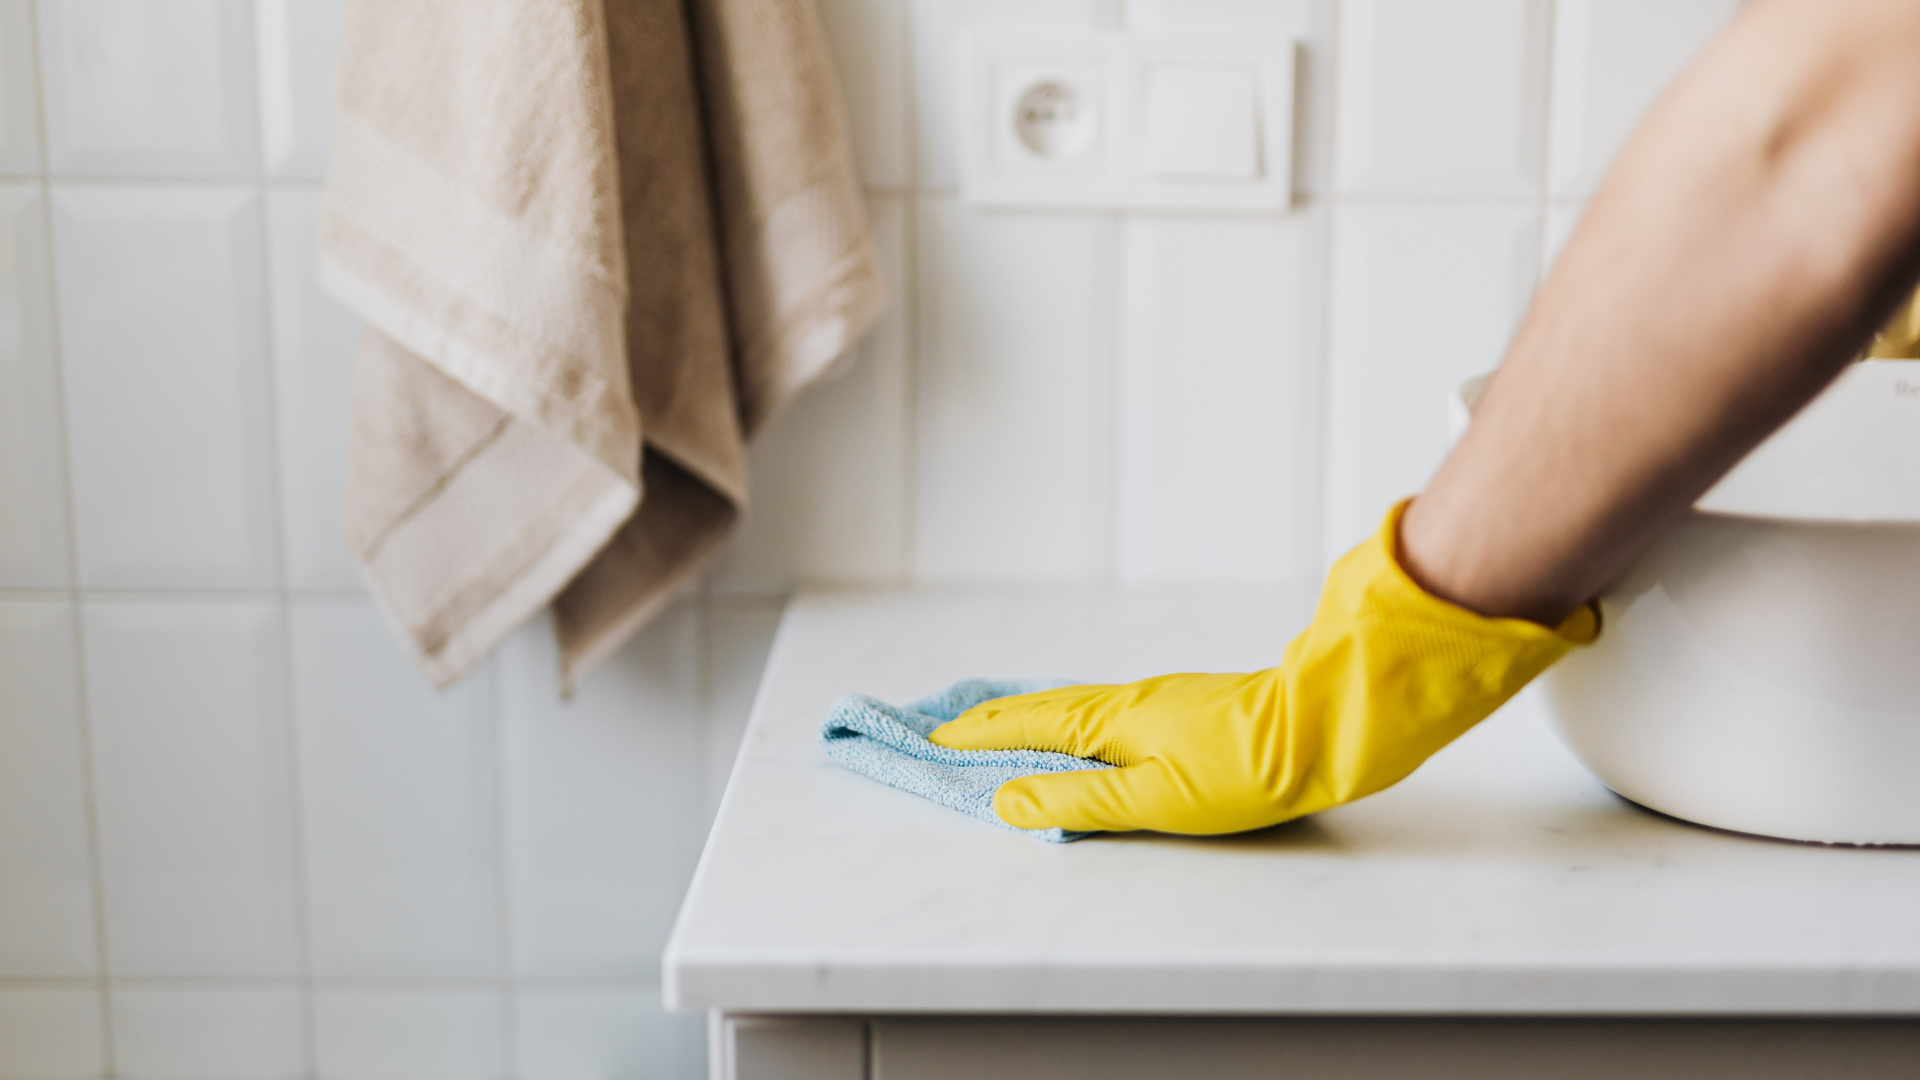
Specialized Cleaners and Solutions
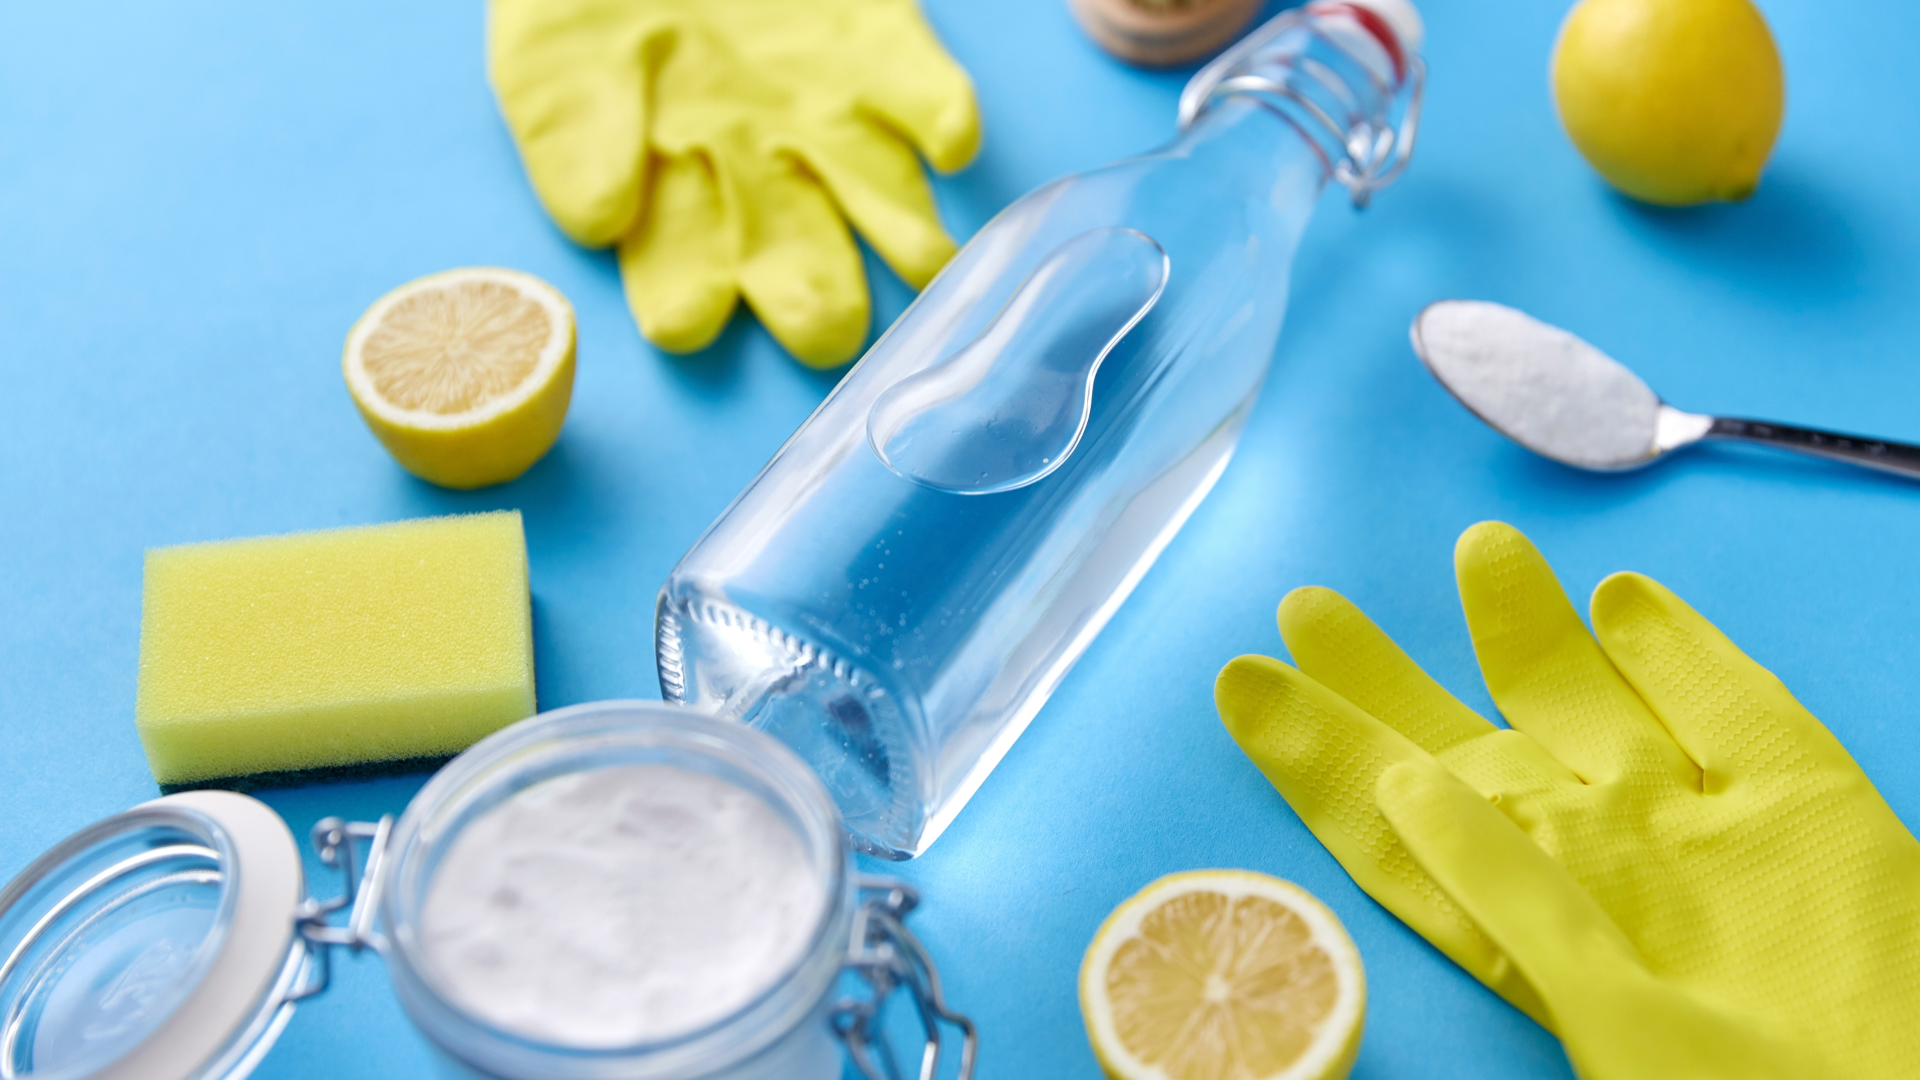
Pick pH-neutral sprays for grout and tiles—they clean without harm. Glass cleaners shine windows without streaks. For cabinets, a mild soap mix works best. DIY options like vinegar and baking soda cut grease and odors cheap.
Mix equal parts vinegar and water for all-purpose wipes. Add baking soda for scrubby stains on counters. These beat store buys for safety around kids and pets. Test on a hidden spot first. Your surfaces stay bright and fresh.
Step-by-Step Post-Renovation Cleaning Guide
Follow this post-renovation cleaning checklist for a smooth process. Start big and work small to avoid redoing steps. Each part takes about 30 minutes to an hour, depending on room size. Break it into days if needed. You'll end with a home that sparkles.
- Prep the Area: Clear out tools and cover vents. This sets you up right.
- Time It: Tackle one room at a time to stay focused.
These steps make the job less overwhelming.
Initial Debris Removal and Decluttering
Pick up nails, wood scraps, and packing first. Use a magnet roller for metal bits on floors. Sort trash into bags—recycle what you can. Tarps under piles keep mess contained. Watch your step to dodge sharp edges.
Sweep large areas gently to push debris to one spot. A dustpan works for corners. This phase clears the way for deeper work. Your space starts feeling open already.
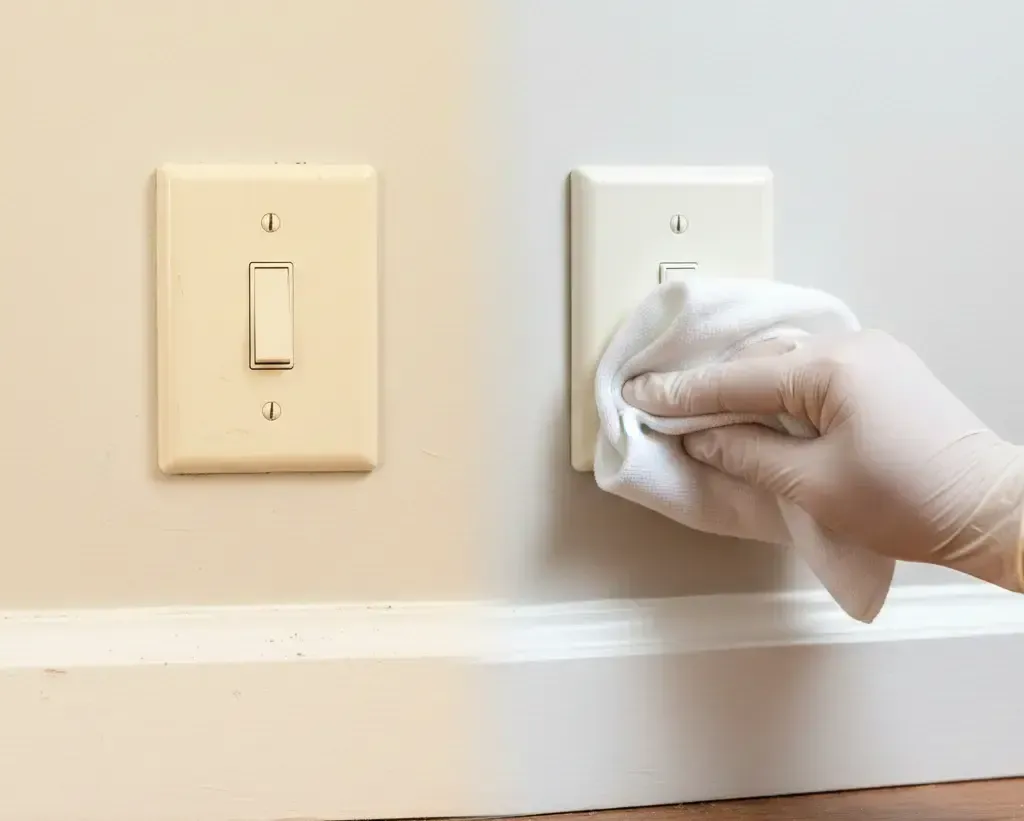
Deep Dusting and Surface Wiping
Dust from the top down—ceilings first, then walls. Use a soft brush on lights to avoid scratches. Wipe shelves and frames with damp cloths. Static on fabrics pulls dust; mist them lightly with water.
Hit baseboards and doors next. Feather dusters catch webs in corners. Let dust settle between passes. This method traps most particles before they fall again.
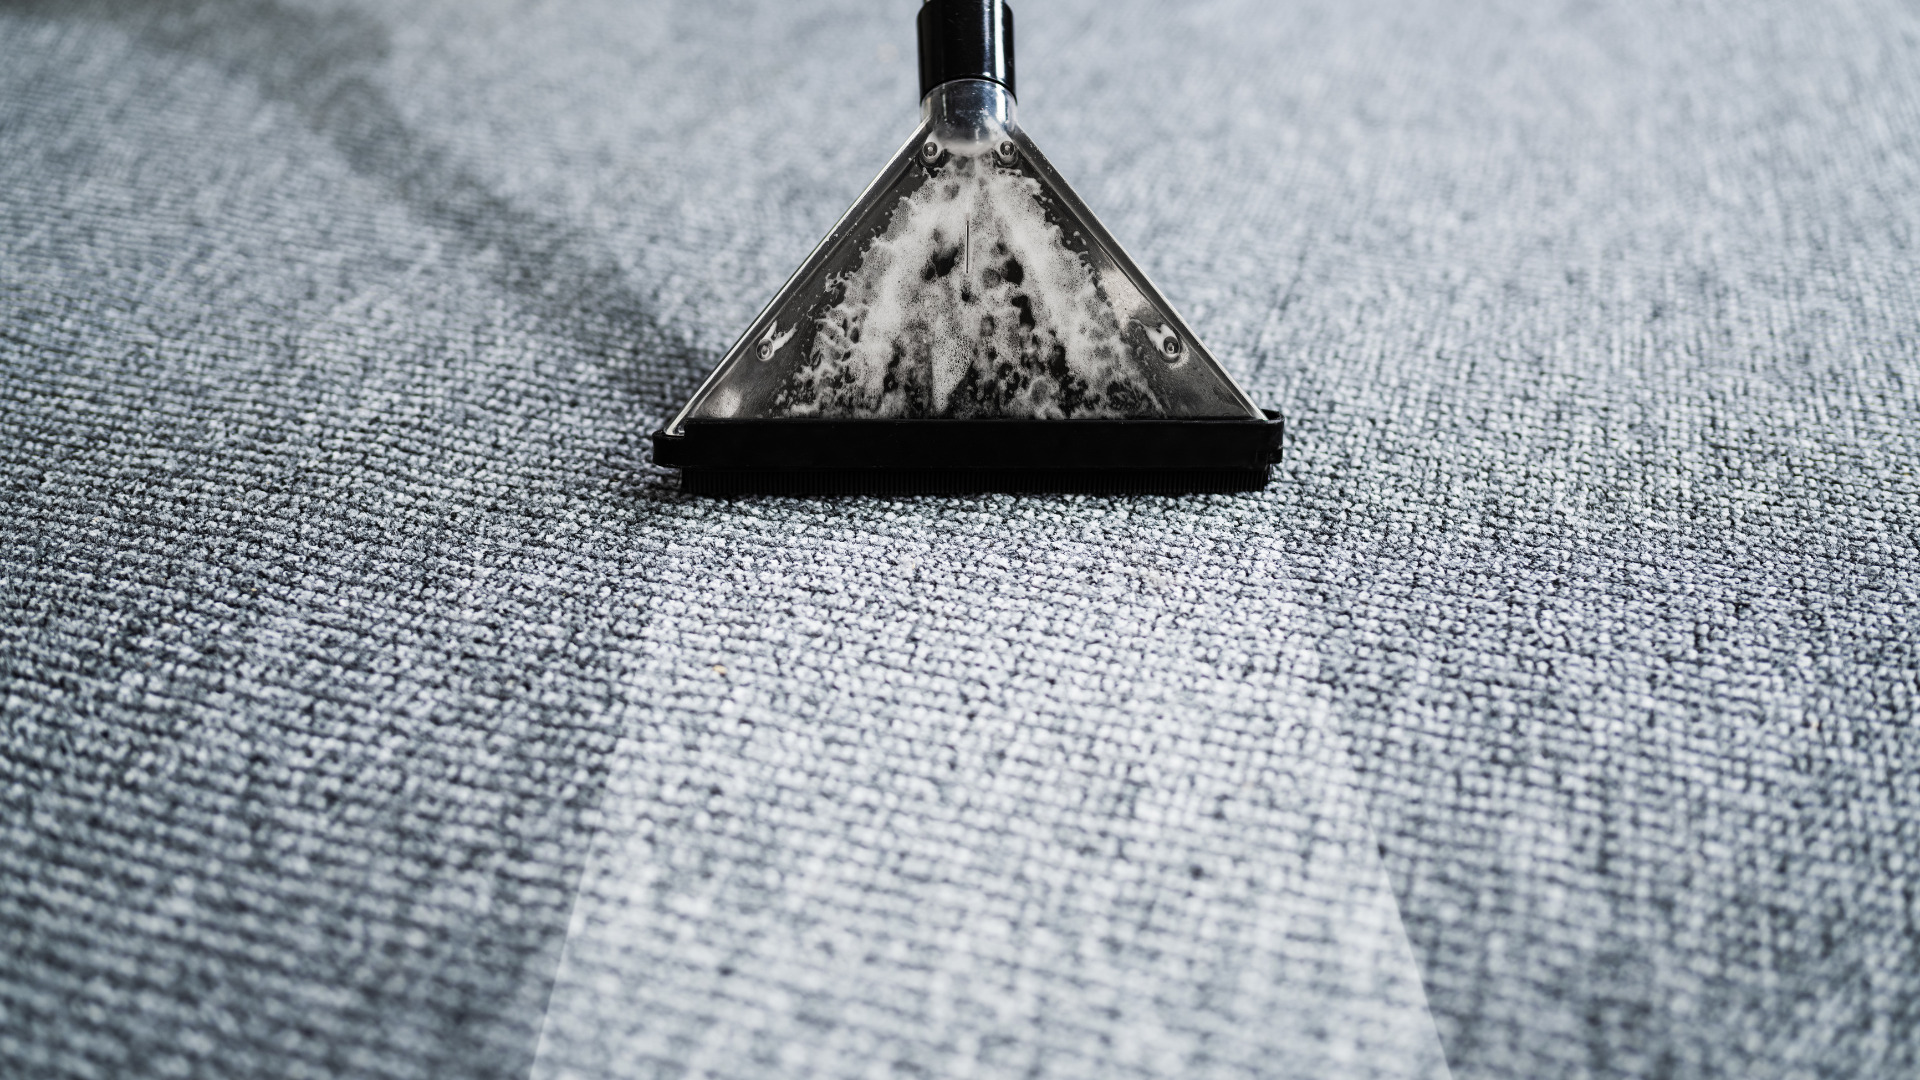
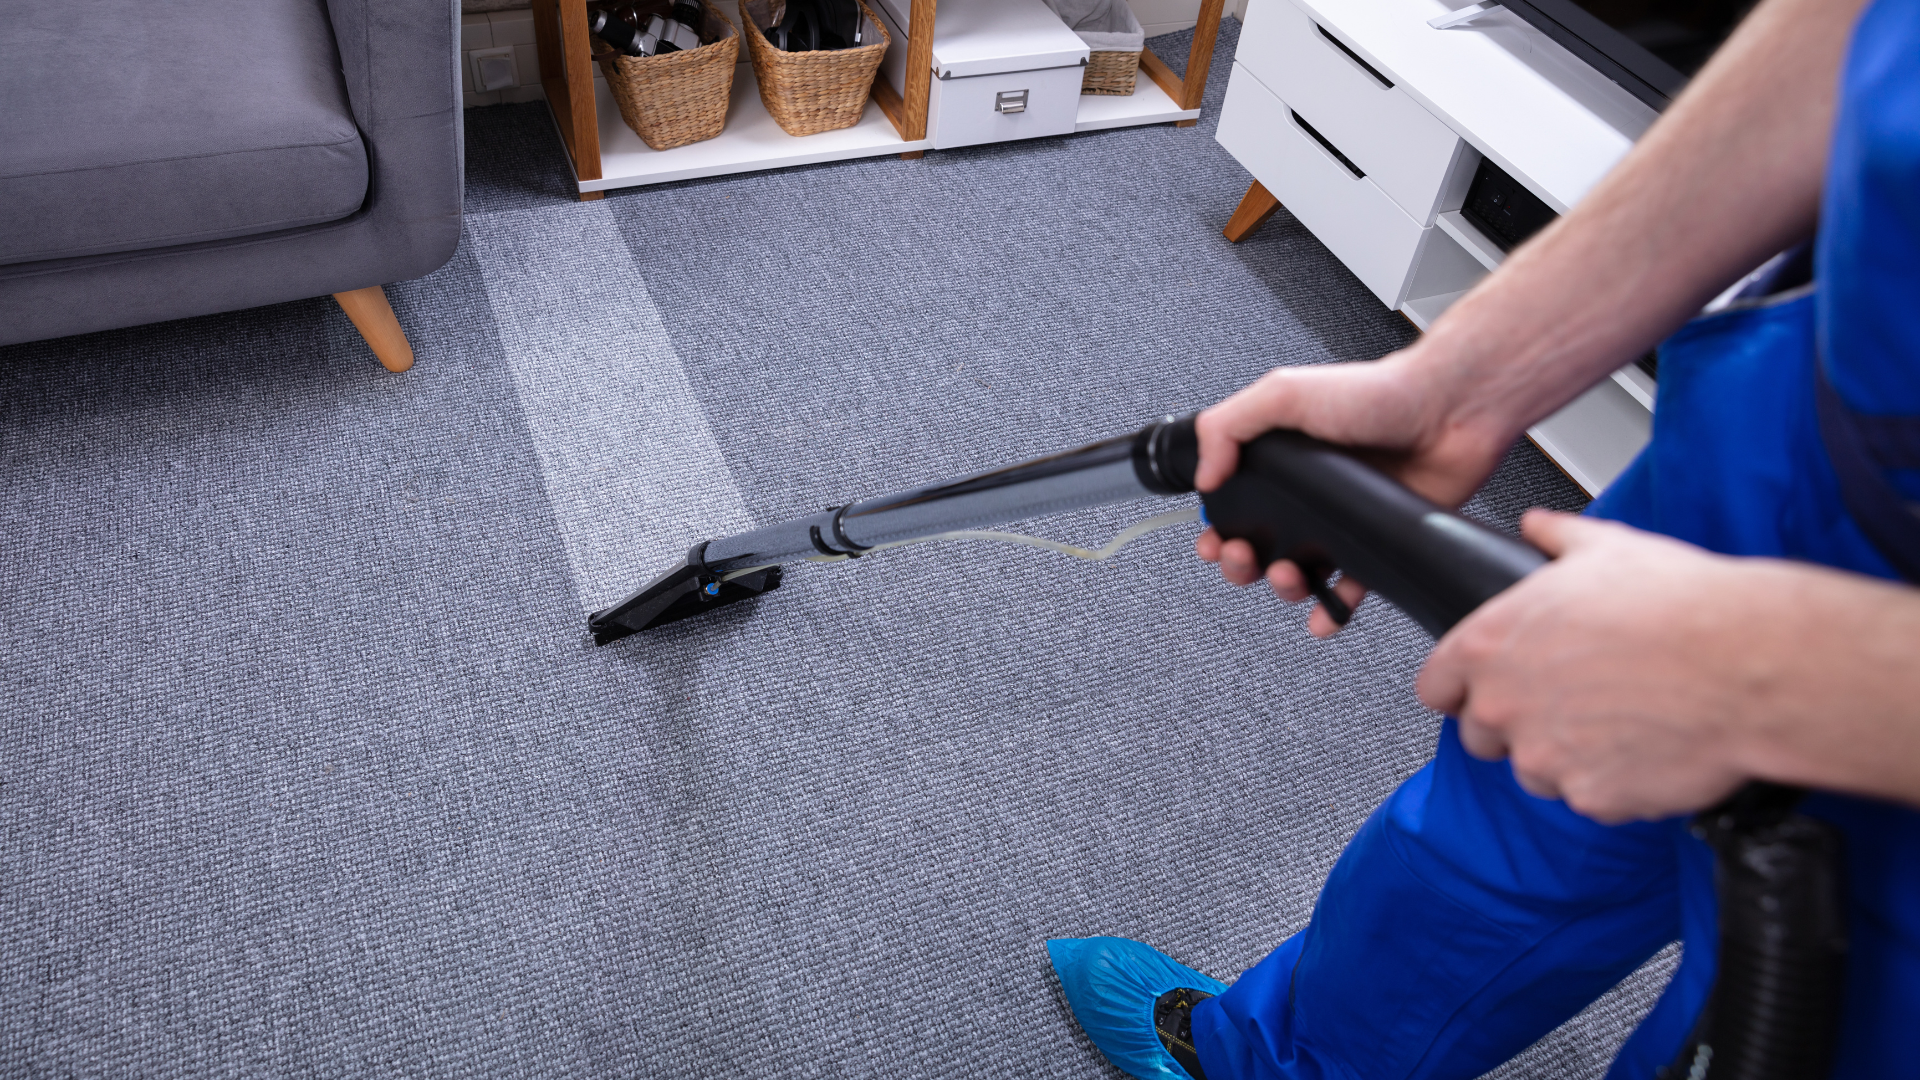
Floor and Fixture Deep Clean
Vacuum carpets thoroughly, then mop hard floors with mild solution. Steam clean grout lines for deep refresh. Polish faucets and handles to remove sticky residues. For hardwood, use a wood-safe cleaner to restore shine.
Rinse everything twice to clear soap buildup. Dry with towels to prevent slips. Fixtures gleam, and floors feel new underfoot.
Common Challenges and How to Overcome Them
Renovations leave tricky spots. Post-renovation cleaning tips for tough stains help you win. Stubborn dust or smells test your patience. Smart fixes keep you moving. You'll feel like a pro after handling these.
Odors fade with time, but don't wait. Fans and open doors speed it up. Divide big jobs to fit your schedule.
Dealing with Stubborn Construction Dust
Dust hides in vents and cracks. Use a shop vac with a hose for tight spots. Seal gaps with caulk after to block future buildup. If your HVAC acts up, call a pro to clean ducts.
Brush walls gently to loosen layers. Wipe with tack cloths for a final grab. This clears the air and surfaces.
Handling Lingering Odors and Stains
Paint fumes stick around—air out rooms with fans for days. Baking soda bowls absorb smells overnight. For stains on paint, dab with a vinegar mix, not scrub.
Adhesive marks lift with oil and a soft cloth. Test fabrics first to avoid damage. Fresh scents return quick.
Time-Saving Strategies for Large Projects
Split tasks by room—kitchen one day, baths next. Get family help for sorting debris. Batch wipes, like all glass at once.
Set timers for sections to stay on track. Rest breaks prevent burnout. Your big project wraps up faster.
When to Hire Professional Post-Renovation Cleaners
DIY works for small jobs, but big ones call for help. Hire post-renovation cleaning services when dust overwhelms. Pros bring gear and speed. They handle the heavy lift so you relax.
For whole homes or health worries, experts shine. Weigh your project's size before deciding.
Signs You Need Expert Help
A full-house remodel means tons of dust. If allergies flare or time runs short, pros step in. Complex spots like attics need their tools.
Health issues or tight schedules tip the scale. Don't push if it stresses you out.
Choosing the Right Cleaning Service
Look for reviews and licenses online. Ask about green methods if you care. Get references from past clients.
Pose questions like rates and timelines. Pick a team that fits your needs.
Cost Considerations and What to Expect
Prices depend on square feet and mess level. A 1,000 sq ft home might run $200-500. Get multiple quotes to compare.
Watch for extras like window cleans. Value comes from thorough work without surprises.
Your Renovation-Ready Clean Space
Post-renovation cleaning seals the deal on your fresh space. It shifts dust and chaos to a clean, healthy haven. Key points: Gear up with masks and vacuums, dust top to bottom, and deep clean floors last. Tackle challenges like odors with fans and absorbers. Know when to call pros for big jobs—they save time and hassle.
Start with one room to gain steam. Your home deserves this final touch. Grab your tools and make it shine—you've earned it.
Leave the Heavy Lifting to Us
Renovation cleanup is a big job. Let the pros handle the dust, debris, and deep cleaning so you can start enjoying your new space immediately.